Ahhh. This class had to be the most expensive and most challenging course. If you didn't already own an old manual camera that was going to cost you. This semester we had to develop our own pictures. Even though it was quite time consuming, some parts of it were therapeutic and I had a chance to listen to my entire list of songs on my Ipod! You must buy developing film, photopaper and whole lot of other supplies.
1. I had to learn how to put film on a film reel IN THE DARK! Ha! Let's see you do that! And I could do it in 5 minutes!
2. Make sure when you are developing your film that you use the chemicals in the right order and the right amount of time. I made this mistake early on.
3. After the roll is developed and dry, now you have to print. The old-fashioned way!
You need filters and the right amount of light. An f-stop determines the right amount of light. You turn the knob to the appropriate f-stop (f8 being the brightest and f16 being the dimmest). It is trial and error with this step so I had to make sure I had plenty of scrap test strips on hand.
4. Develop the paper in the chemicals. It takes a total of 15 minutes for each photo to develop if you do it perfectly.
5. Drying time!
The ball is demonstrating Arrested Motion.
These boots were for Texture project.
I had to work with the teacher to fix it during the printing process and play with different filters.
These glasses were for Selective Focus which was a class favorite project.
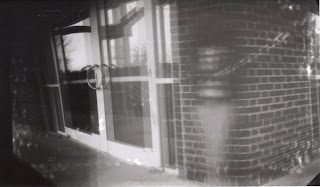
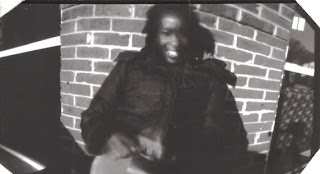
 The lovely pinhole pics. That is me standing in front of the building. It took 10 minutes to snap this and that was because it was so cloudy. Pinhole cameras take a lot of patience.


.jpg)


0 comments:
Post a Comment